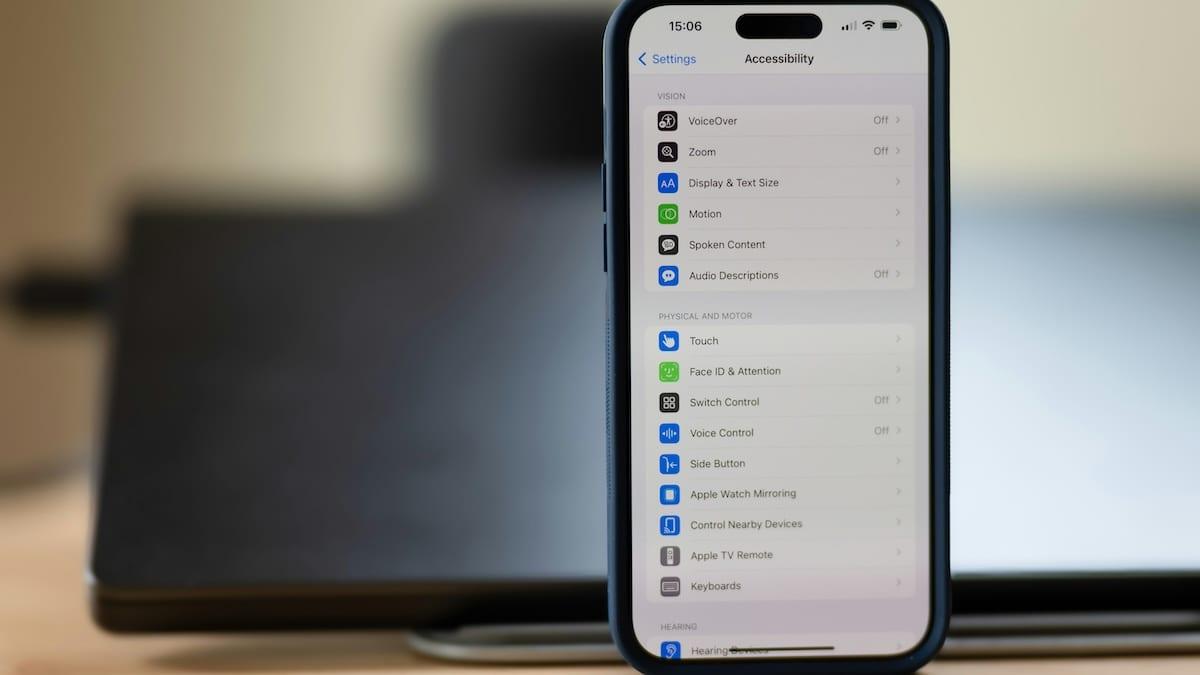
When making a mobile app it's really easy to get caught up in flashy features, sleek designs and making your app feel very 'custom'. However, there's an often-overlooked aspect that can make or break your app's success: accessibility. At Add Jam, we believe that great apps should be usable by everyone, regardless of their abilities. In this post I'm going to give a broad overview of accessibility specifically for React Native development and hopefully show some practical tips to create more inclusive mobile experiences for everyone.
What is 'accessibility'?
Accessibility (commonly referred to 'a11y') is the practice of designing and developing software applications that can be used by people with a wide range of abilities, including those with visual, auditory, motor, or cognitive impairments. This involves ensuring that your app can be navigated and understood by users who rely on assistive technologies like screen readers, as well as those who may have difficulty with fine motor control or processing complex information.
Why is accessibility important?
-
Inclusive user experience: By making your app accessible, you're ensuring that all users, regardless of their abilities, can enjoy and benefit from your product.
-
Larger user base: Being accessible naturally means the 'addressable' market for your app is much bigger. According to the World Health Organization, over 1 billion people worldwide live with some form of disability. By making your app accessible, you're potentially expanding your user base significantly.
-
Legal compliance: In many countries, digital accessibility is becoming a legal requirement. By prioritising accessibility, you're future-proofing your app against potential legal issues. In the UK many public sector or corporate customers will require web apps to meet 'WCAG 2.1 Level AA'. WCAG is the Web Content Accessibility Guidelines and are part of a series of web accessibility guidelines published by the Web Accessibility Initiative of the World Wide Web Consortium, the main international standards organization for the Internet.
-
Better overall design: Often, the principles of accessible design are just generally good principles of design. Therefore leading to a better overall user experience for everyone, not just those with disabilities.
-
Positive brand image: Demonstrating a commitment to accessibility can enhance your brand's reputation and show that you value all potential users.
Steps to improve accessibility in React Native apps
Now that we understand the importance of accessibility, let's look at some practical steps to improve it in your React Native apps:
1. Use accessibility labels
React Native provides the accessibilityLabel prop, which allows you to provide a description of an element for screen readers. Here's an example:
<Pressable
  accessibilityLabel="Open user settings"
  onPress={openSettings}
>
  <Text>Open<Text>
</Pressable>
In the above example our <Text> component is a label of a pressable item, the label isn't clear so we can use the accessibilityLabel to give a more useful hint to users using VoiceOver or other accessibility features.
2. Implement proper focus management
Ensure that interactive elements can be focused on and activated using a keyboard or assistive technology. React Native's accessible prop can help with this:
<View accessible accessibilityRole="button">
  <Text>Click me</Text>
</View>
Like wise you might have elements you don't want a screenreader to pickup and you want to set this prop to false.
3. Use adequate colour contrast
Ensure there's sufficient contrast between text and background colors.
You can use tools like the WebAIM Color Contrast Checker to verify your color choices in your design. If you allow users to input custom colours you can use a script like the one below to validate the users input to ensure there is suitable contrast between their colour and the background colour:
interface RGB {
  r: number;
  g: number;
  b: number;
}

function convertHexToRgb(hex: string): RGB | null {
  const shorthandRegex = /^#?([a-f\d])([a-f\d])([a-f\d])$/i;
  const fullHex = hex.replace(shorthandRegex, (_, r, g, b) => r + r + g + g + b + b);

  const result = /^#?([a-f\d]{2})([a-f\d]{2})([a-f\d]{2})$/i.exec(fullHex);
  return result
    ? {
        r: parseInt(result[1], 16),
        g: parseInt(result[2], 16),
        b: parseInt(result[3], 16),
      }
    : null;
}

function calculateLuminance({ r, g, b }: RGB): number {
  const [rValue, gValue, bValue] = [r, g, b].map((v) => v / 255);
  const adjustColor = (color: number): number =>
    color <= 0.03928 ? color / 12.92 : Math.pow((color + 0.055) / 1.055, 2.4);
  const [rAdjusted, gAdjusted, bAdjusted] = [rValue, gValue, bValue].map(adjustColor);

  return 0.2126 * rAdjusted + 0.7152 * gAdjusted + 0.0722 * bAdjusted;
}

export default function isTextColorLegible(backgroundColor: string, textColor: string): boolean {
  if (!textColor || !backgroundColor) return true;

  const hexRegex = /^#([A-Fa-f0-9]{6}|[A-Fa-f0-9]{3})$/;
  const isValidHex = (color: string): boolean => hexRegex.test(color.trim());

  if (!isValidHex(textColor) || !isValidHex(backgroundColor)) {
    return false;
  }

  const textColorRgb = convertHexToRgb(textColor.trim());
  const bgColorRgb = convertHexToRgb(backgroundColor.trim());

  if (!textColorRgb || !bgColorRgb) {
    return false;
  }

  const textColorLuminance = calculateLuminance(textColorRgb);
  const bgColorLuminance = calculateLuminance(bgColorRgb);
  const contrastRatio =
    (Math.max(textColorLuminance, bgColorLuminance) + 0.05) /
    (Math.min(textColorLuminance, bgColorLuminance) + 0.05);

  return contrastRatio >= 4.5;
}
4. Provide alternative text for images
Always use the accessibilityLabel prop to provide alternative text for images:
<Image
  source={require('./logo.png')}
  accessibilityLabel="Company logo"
/>
Also be mindful of this with any iconography.
5. Use native components when possible
React Native's built-in components often have accessibility features baked in. Prefer using these over custom components when possible.
6. Test with accessibility tools
Use the built-in accessibility tools on iOS and Android to test your app. On iOS, you can use VoiceOver, and on Android, TalkBack.
Run your app on device, use your finger. Don't just rely on using it in the simulator with a physical keyboard and mouse.
7. Consider the navigation flow
Ensure that the navigation flow of your app makes sense when using assistive technologies. Use clear headings and a logical structure.
The popular navigation paradigms on mobile (and well supported in the likes of react-navigation) are:
- Stacks
- Tabs
- Drawers
Don't stray from this, there is likely to be habitual familiarity of these in your userbase.
8. Provide sufficient touch target size
Make sure interactive elements are large enough to be easily tapped. Apple recommends a minimum tappable area of 44x44 points. This can be done by applying ample padding or making use of the hitSlop prop on Pressable components:
<Pressable hitSlop={12}>
  <Text>Tap Me</Text>
</Pressable>
Remember and try out your design on device, using a pointer in the simulator can be deceiving.
9. Be mindful of text scaling
One of the most widely used aspects of accessibility is text scaling. Many users, especially those with visual impairments, rely on larger text sizes to comfortably read content on their devices. React Native provides built-in support for dynamic type sizing, but it's up to developers to implement it correctly.
At an absolute minimum make sure your app respects the default text scaling set by the user in their system settings and make sure with large text enabled the layout doesn't break.
To Test on device (both iOS and Android) open Settings > Accessibility > Display & Text Size.
The impact of accessible design
Implementing these accessibility features not only makes your app more inclusive but often leads to a better overall user experience. For instance, larger touch targets benefit everyone, not just those with motor impairments. Clear, high-contrast text is easier for all users to read, especially in bright sunlight.
Moreover, considering accessibility from the start of your project can save time and resources in the long run. It's much easier to build with accessibility in mind than to retrofit an existing app.
As we've seen, making your React Native apps accessible isn't just the right thing to do—it's also good for business. By following these steps and continuously testing with a diverse group of users, you can create apps that truly work for everyone.
At Add Jam, we're passionate about creating inclusive digital experiences. We believe that technology should empower all users, regardless of their abilities. That's why we prioritise accessibility in every project we undertake.
Need help improving your app's accessibility?
If you're looking to enhance the accessibility of your React Native app but aren't sure where to start, we're here to help. Our team of experts can audit your existing app, provide recommendations, and even handle the implementation of accessibility features.
Don't let accessibility be an afterthought. Contact Add Jam today, and let's work together to make your React Native app more inclusive, user-friendly, and successful. Together, we can build a digital world that truly works for everyone.
Looking for more insights on mobile app development? Check out our guides on ASO (App Store Optimization) and cross platform development to further enhance your app's success.
If you're ever in Glasgow or the Central Belt of Scotland and want to talk web or mobile development get in touch and we can arrange a coffee.


